Idealpos integrates with the DTI Tax Monitoring System using an ESDC (External Sales Data Controller).
The ESDC vendor used by Idealpos is SoftSDC, an accredited External-Sales Data Controller component of DTI.
The system will need to be configured using the details that are supplied by the Governing Body that handles Tax Monitoring in your Country or Region.
Depending on the Country or Region where you reside, the Tax Monitoring System will be referred to as follows:
To enable and use the Tax Monitoring System with Idealpos, please complete the following steps:
"Tax Monitoring" needs to be enabled in the Idealpos Licence.
Please speak to our Sales Team for more information and to organise to have this option enabled for your licence.
After the option has been enabled, you may reload the licence to confirm that the change has been made and applied to your licence.
Go to Setup > Licence Gateway
Ensure that "Tax Monitoring" is displayed under the Options column for your POS terminals.
Go to: Setup > Global Options
The following changes need to be completed.
Go to the Sales tab in Global Options
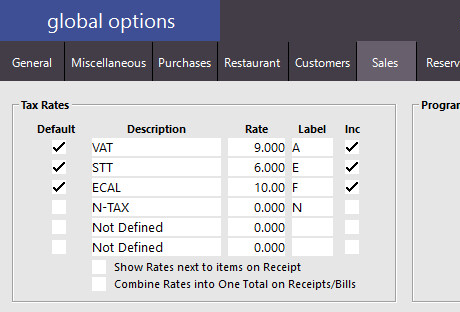
Under the Tax Rates section, configure the Tax Descriptions and Tax Rates.
The Tax Descriptions/Labels must be explicit and can be obtained from the Governing Body in your Country or Region that handles Tax Monitoring.
The below Tax Descriptions and Rates are examples for VMS (Fiji Region), however,we strongly recommend that you consult with the local Governing Body in your region for the latest up-to-date Tax Descriptions and Rates to ensure that you meet the requirements for compliance in your region.
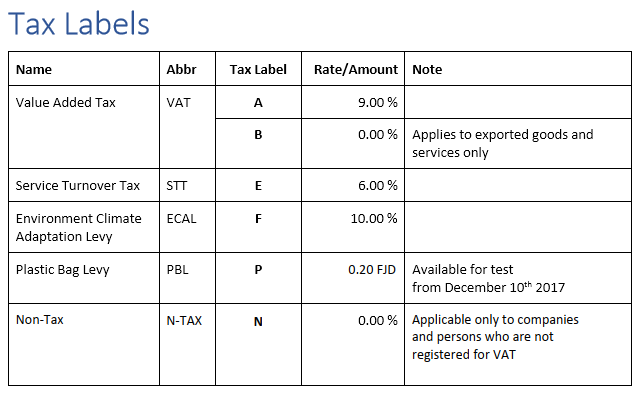
The Tax Labels supplied below for use with the VMS (Fiji) are listed below for reference.
We strongly recommend that you refer to your local Governing Body who is responsible for managing Tax Monitoring for the latest Tax Rates and Tax Labels to ensure that you are Tax Compliant in your region.
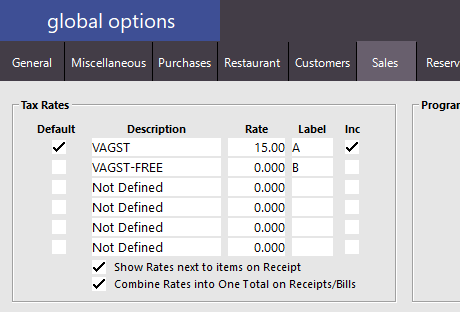
The below rates are examples for the Samoa region, however, we strongly recommend that you consult with the local Governing Body in your region for the latest up-to-date Tax Descriptions and Rates to ensure that you meet the requirements for compliance in your region.
Once the Tax Labels/Rates have been configured, we recommend that you restart Idealpos for these changes to take effect.
Restart Idealpos by going to Start > Idealpos > IPSUtils > Enable the "Close IPS Utility" checkbox > Press the "Close" button
After Idealpos is closed, you may start Idealpos again either via the Idealpos Desktop Icon, or go to: Start > Idealpos > Idealpos
Then go back to the Global Options screen by going to: Setup > Global Options
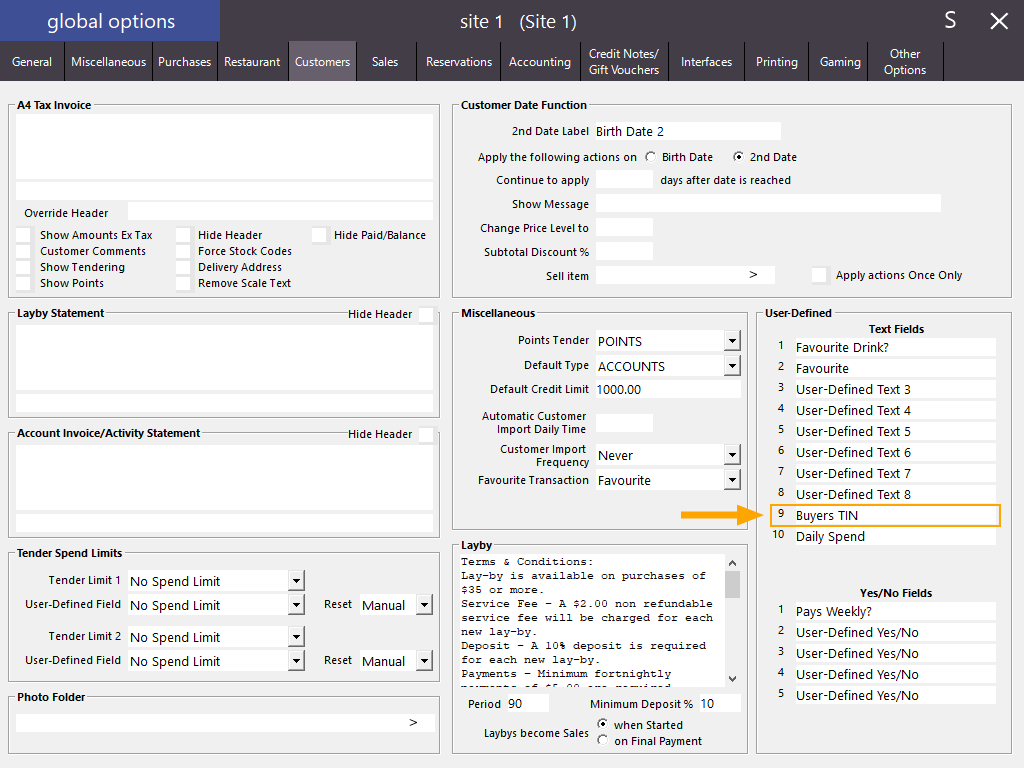
Go to the Customers tab in Global Options.
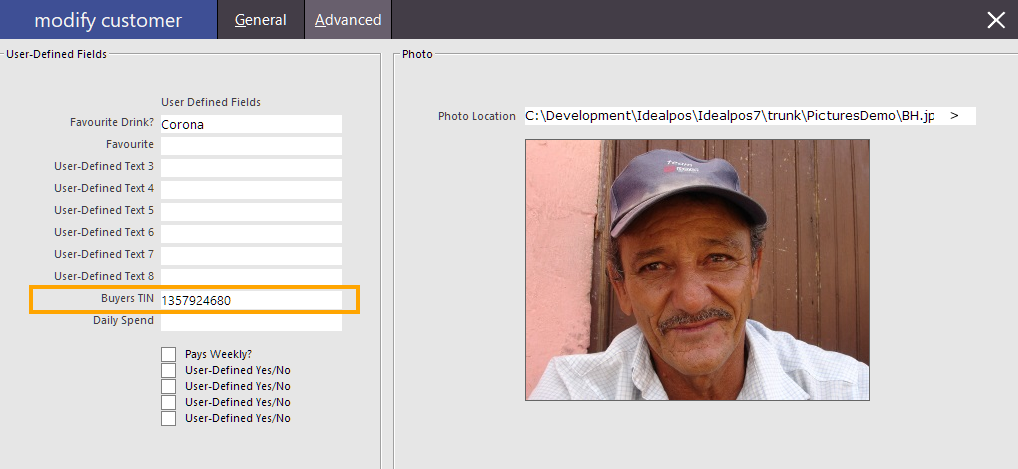
Under the 'User-Defined' section, add Buyers TIN (Tax Identification Number)
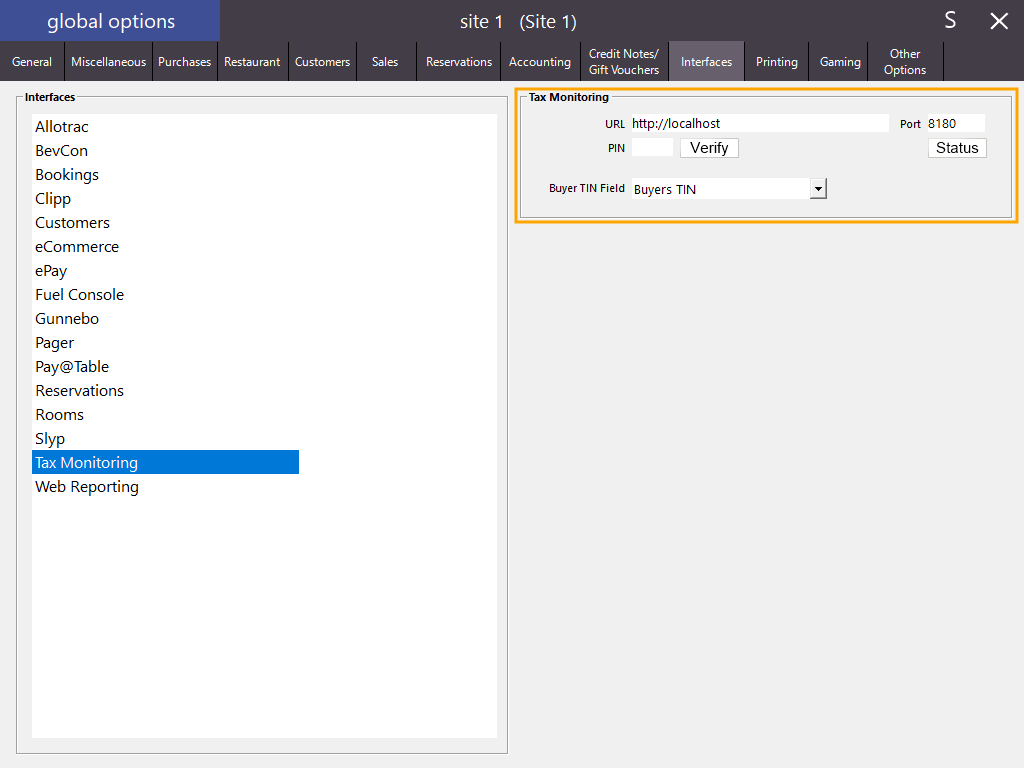
Go to the Interfaces tab in Global Options.
From the list of available Interfaces on the left-hand side, select Tax Monitoring, then select the Buyers TIN from the Buyer TIN Field option.
The other options will need to be filled out using the details supplied by the Governing Body that is managing Tax Monitoring in your Country or Region.
After entering the URL and the PIN, the Verify button can be pressed to Verify the PIN
If each of your POS Terminals has a Smart Card with a unique PIN, the PIN can be configured as a User-Defined Option per-POS Terminal.
Please refer to the warning below for further details.
PIN Warning!
When configuring the PIN Code in the Global Options, all POS Terminals will need to have a Smart Card with the same PIN Number.
If the Smart Card PIN differs at each POS Terminal and the PIN is configured in Global Options, this will result in failed PIN attempts.
The Smart Card will be LOCKED after a specific number of failed PIN number attempts.
If required, a unique Tax Monitoring PIN number can be configured for each POS Terminal.
If a PIN Number is configured in the Tax Monitoring Interface within Global Options AND as a User-Defined Option for a POS Terminal, the PIN Number configured in the User-Defined Option will be used instead.
Should a POS Terminal not have the User-Defined option configured, the PIN Number configured in the Tax Monitoring Interface within Global Options will be used instead.
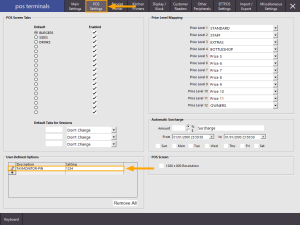
To configure a unique Tax Monitoring PIN number for each POS Terminal, go to: Setup > POS Terminals > Select the POS Terminal from the list > Modify.
From the POS Settings tab, create a User-Defined Option as follows:
Description: TAXMONITOR-PIN
Setting: [PIN Number] (enter the PIN Number for the Smart Card)
The below User-Defined Option shows a PIN Number of 1234.
When configuring your system, substitute the PIN with your Smart Card PIN Number.
Go to the Printing tab in Global Options.
Under the QR Codes section, adjust the QR Code size. We have used a QR Code Size of 4, however, you may find another size may suit your setup better.
Once the above steps have been completed, we recommend that you restart Idealpos for these changes to take effect.
Restart Idealpos by going to Start > Idealpos > IPSUtils > Enable the "Close IPS Utility" checkbox > Press the "Close" button
After Idealpos is closed, you may start Idealpos again either via the Idealpos Desktop Icon, or go to: Start > Idealpos > Idealpos.
Idealpos should start successfully without showing any error messages.
If Idealpos encounters any issues connecting to the ESDC or if any problems with the Tax Labels/Rates are found by Idealpos, an error message will be displayed during the Idealpos startup. Should this occur, please review the steps above to ensure that you have configured the Tax Rates correctly.
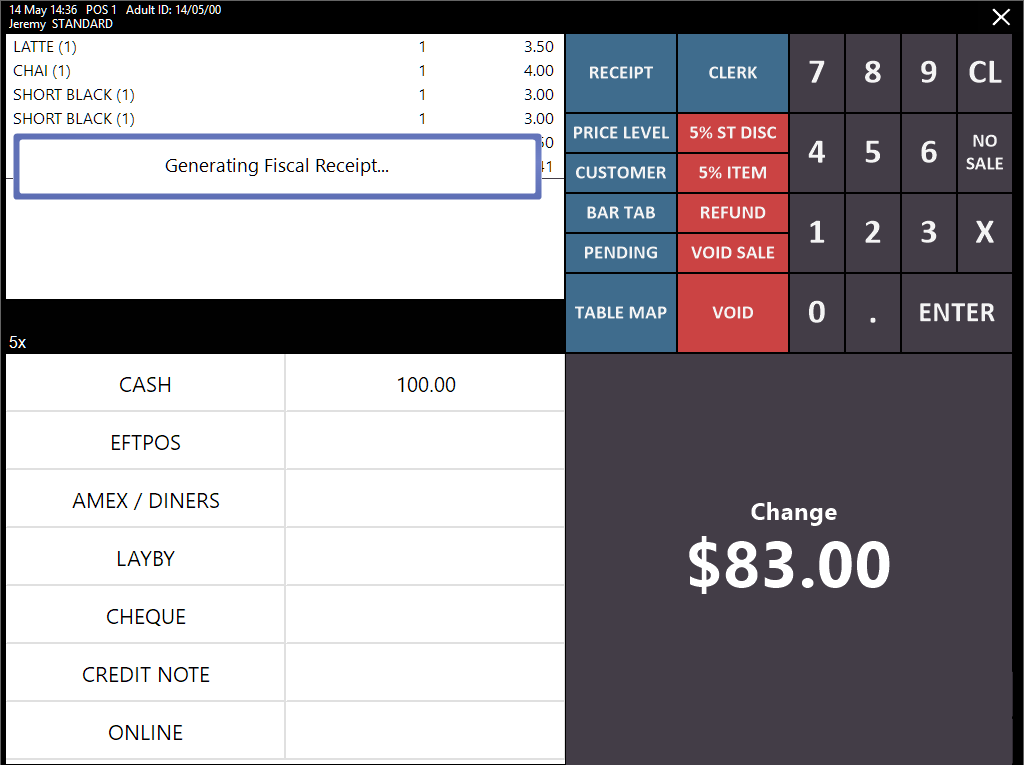
If no error messages are displayed during Idealpos startup, the setup was successful and you can proceed to completing a sale on the POS Screen/Generating Fiscal Receipt in the below step.
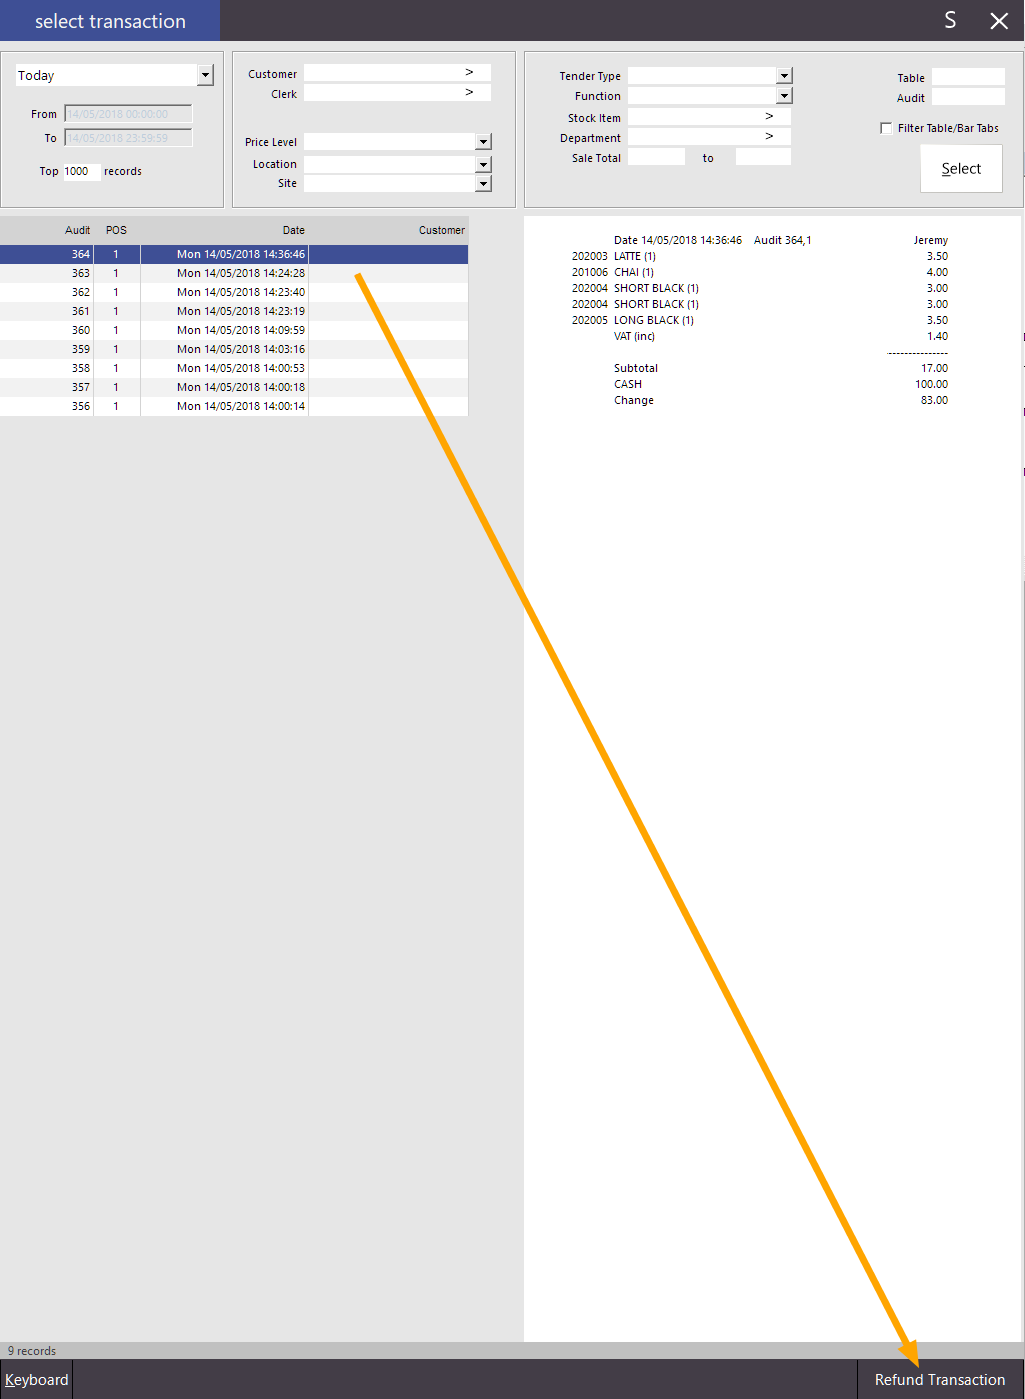
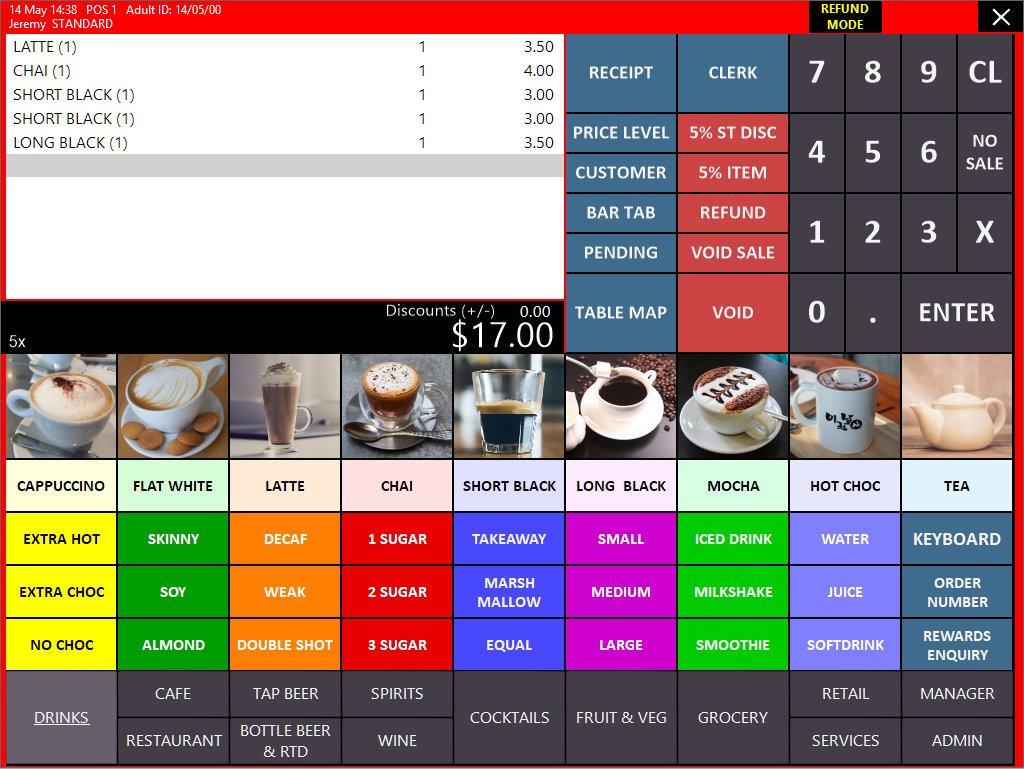
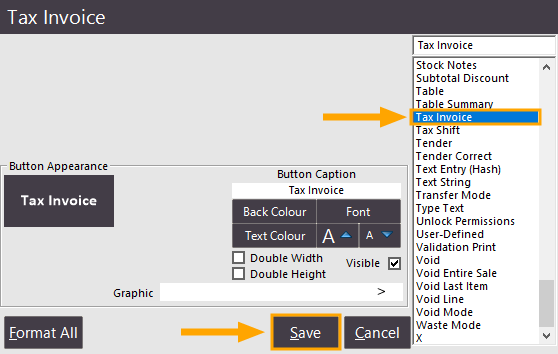
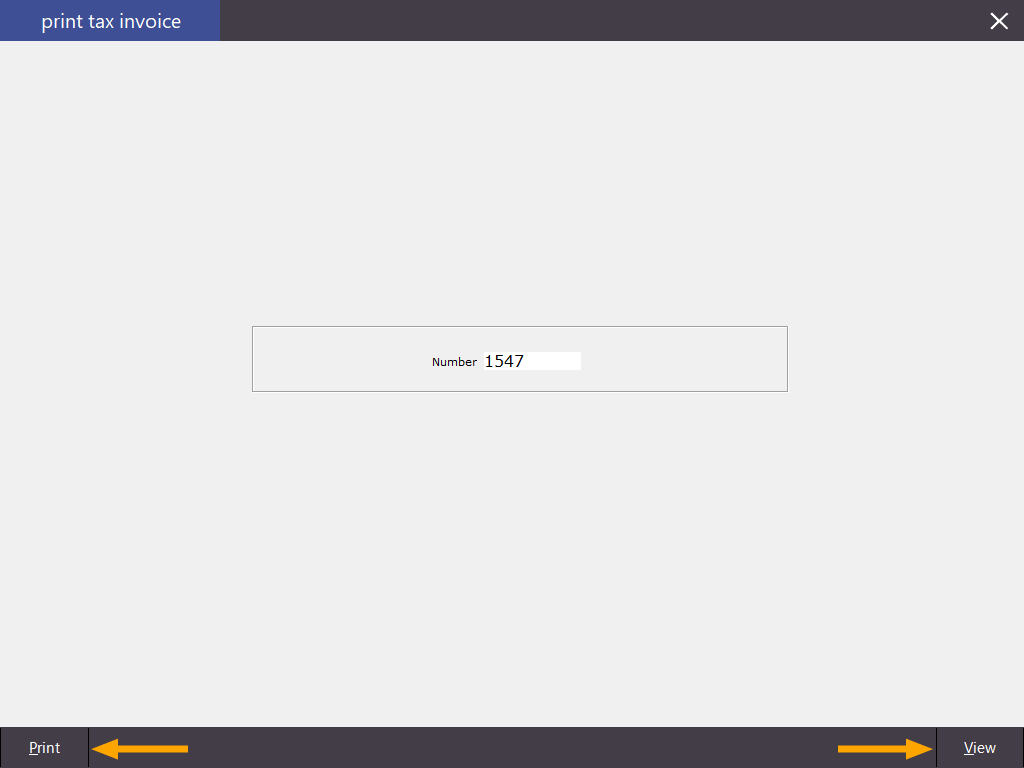
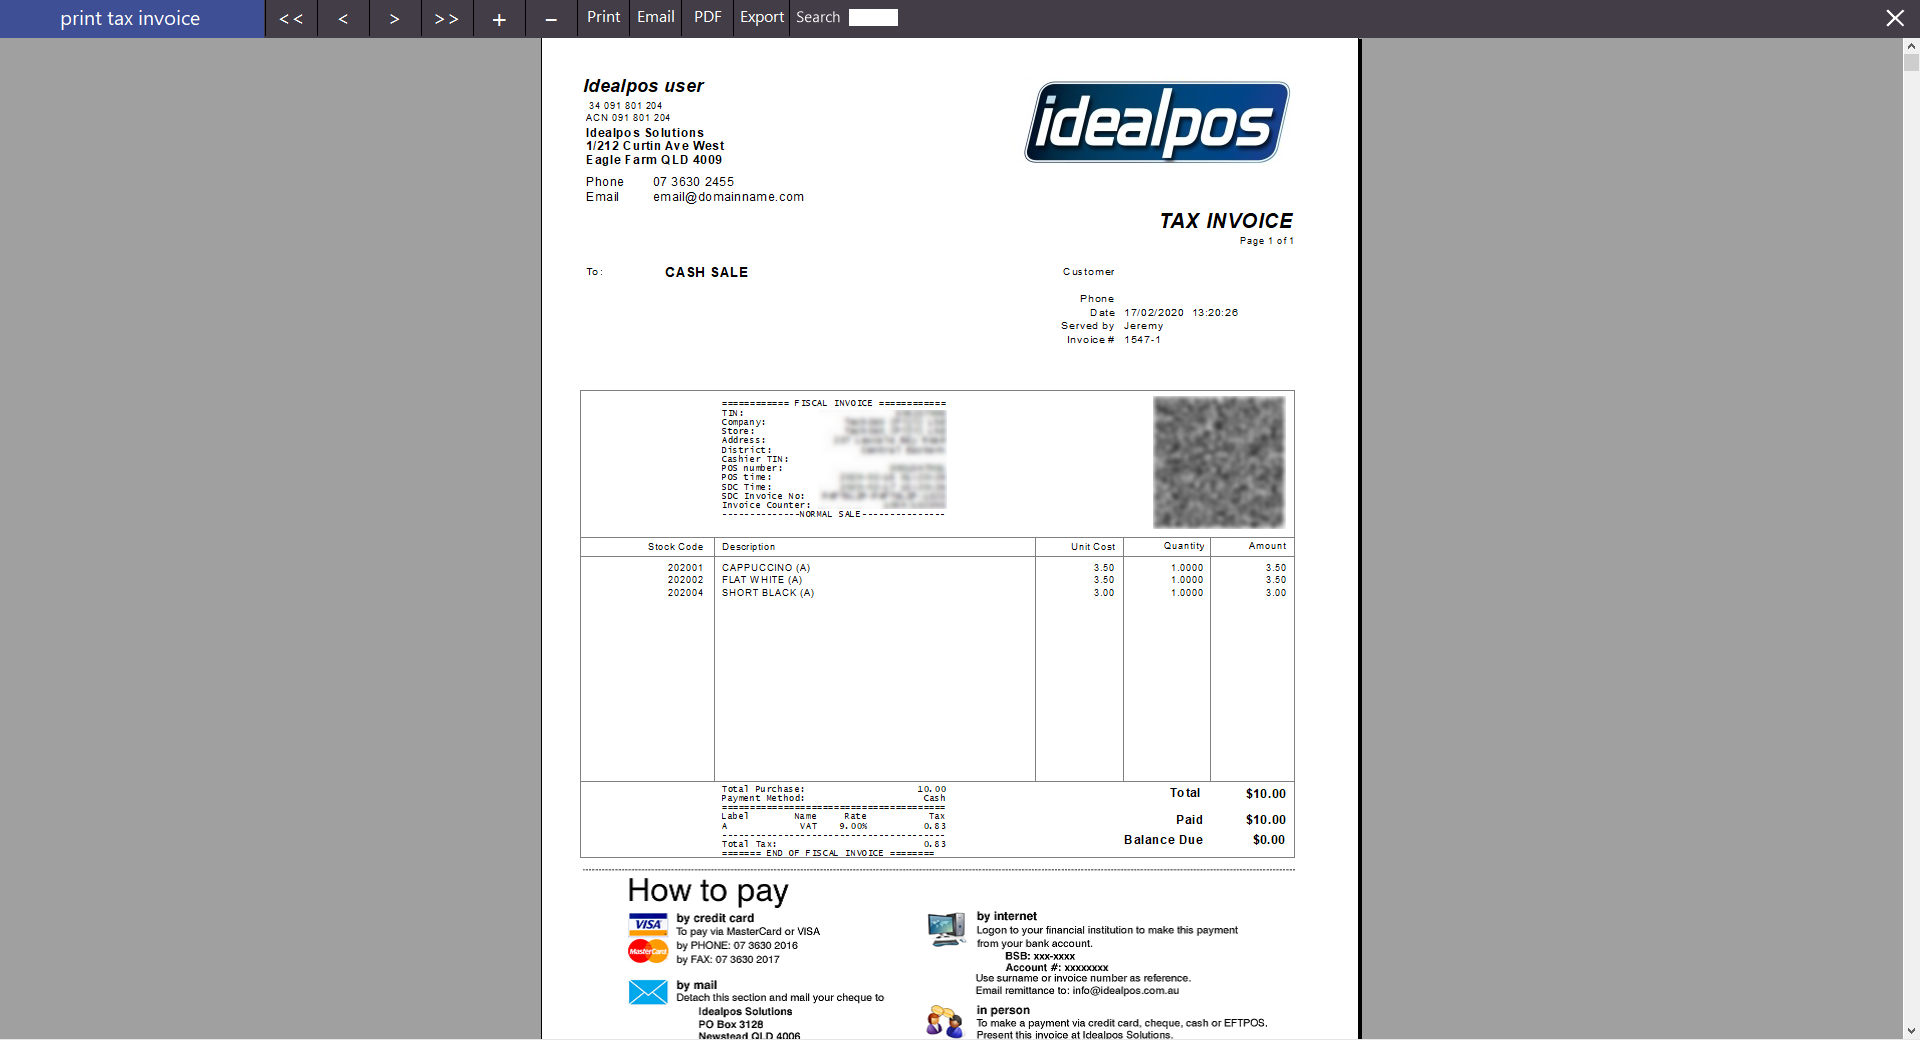
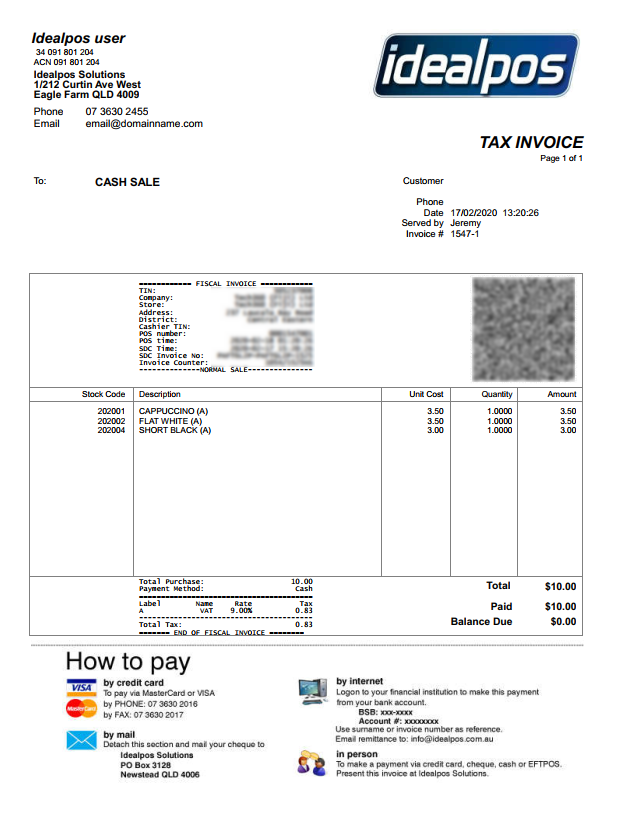
Fiscal receipts can be included on A4 Tax Invoices.
To use this functionality, there are two options available as below:
The Fiscal Status and Verify PIN function can be run at any time from the POS Screen by first creating a button then pressing it at any time during or after a transaction.
By pressing the button, Idealpos will attempt to connect to the SDC to get the status and verify the PIN number.
Prior to Idealpos 7.1 Build 7, this function would run automatically in the background when each transaction was performed which resulted in slower transaction processing times because the POS would have to keep performing the check. From build 7 and onwards, the function no longer runs automatically after each sale and will instead only be run when the button on the POS screen is pressed.
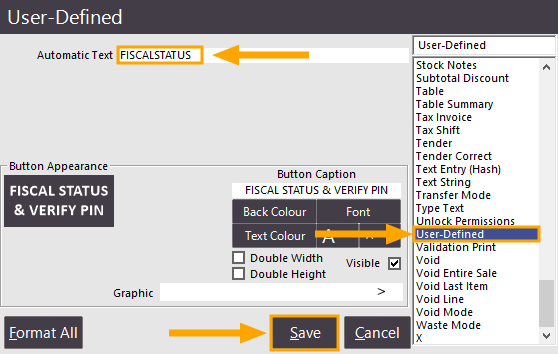
To create the "Fiscal Status & Verify PIN" button, go to: Setup > POS Screen > POS Screen Setup > Select a layout > Buttons
Find a suitable POS Screen tab at the bottom of the screen where you would like the "Fiscal Status & Verify PIN" button be located and click on it.
Then find a blank button within the tab to create the button.
Configure the button as follows:
Select the "User-Defined" option from the list of available functions, then enter "FISCALSTATUS" into the Automatic Text Field.
Enter the desired button caption into the Button Caption field. The appearance can also be customised as required.
Once the button has been configured, press "Save" to save the button:
Close the POS Screen Layout windows.
Open the POS Screen, then press the "FISCAL STATUS & VERIFY PIN" button.
A message will be displayed showing the Site Name and Last Invoice number along with the Verify Pin result.
If there are any issues sending Tax Monitoring Fiscal Receipts, you may want the ability to Retry sending Fiscal Receipts on-demand.
A button can be created for this purpose by utilising the User-Defined function and entering specific text into the Automatic Text field.
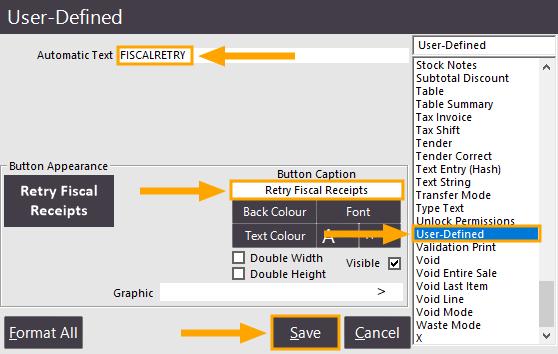
To create the "Retry Fiscal Receipts" button, go to: Setup > POS Screen > POS Screen Setup > Select a layout > Buttons
Find a suitable POS Screen tab at the bottom of the screen where you would like the "Retry Fiscal Receipts" button be located and click on it.
Then find a blank button within the tab to create the button.
Configure the button as follows:
Select the "User-Defined" option from the list of available functions, then enter "FISCALRETRY" into the Automatic Text Field.
Enter the desired button caption into the Button Caption field. The appearance can also be customised as required.
Once the button has been configured, press "Save" to save the button:
If there are any problems sending Fiscal Receipts to the ESDC, the Retry Fiscal Receipts button can be pressed and Idealpos will attempt to send any outstanding Fiscal Invoices that have not already been sent.